
How it works
GoStitching consists of a PC installation and cloud integration.
GoStitching automatically separates two studies, merges each study into one long image, and sends them to the PACS. The two merged images can be viewed in the PACS right away.
GoStitching works with GoWIX Cloud. When a merged study is completed, it synchronizes with GoWIX Cloud automatically.
- Acquire single imagesTake single images with about 10% overlap.
- Send to GoStitchingSend them by DICOM from the PACS or the X-ray system.
- Read the stitched imageIn the PACS, the stitched image appears after the original single images.
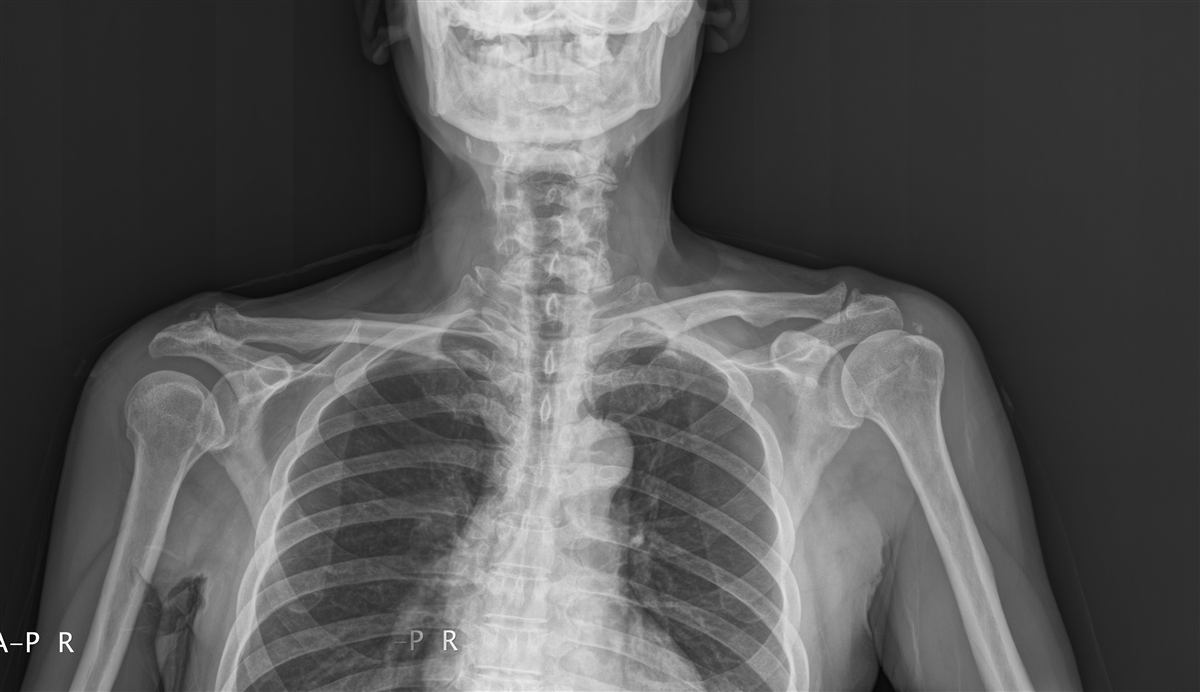
GoStitching stitches horizontal images (for example, both shoulders) as well as vertical ones, on a wall stand or a table. Use it for whole-body, long-arm, long-leg and whole-spine (AP and lateral) studies.
Regulatory status: GoWIX, GoDR and GoStitching are medical devices certified in Korea (MFDS). They are not FDA-cleared and do not carry CE marking. If you need an FDA-cleared product in the United States, please contact our partners: Aspen Imaging Healthcare for GoDR (sold as AspenView, FDA 510(k) K241425) and QPIX Solutions (Osko, Inc.) for GoStitching (sold as Smart Stitching, FDA 510(k) K163048).
Advantages
01. Head to toe
Stitches two to five single images automatically, and up to ten.
02. Less time per study
Manual stitching can hold up the next patient by five or ten minutes, and sometimes means a retake. GoStitching removes that delay.
03. Keep your equipment
GoStitching follows the DICOM 3.0 imaging and communication standard, so it works with any CR or DR. No extra accessories or equipment options to buy, and it keeps working when equipment is upgraded or replaced.
04. Proven product
- More than 100 installations in Korea and abroad
- Medical device manufacturing licence and MFDS product approval (Class 2) in Korea
- Patent for automatic medical image stitching
- United States: our partner Osko, Inc. (QPIX Solutions) holds FDA 510(k) K163048 for it as Smart Stitching.
Acquisition guide
For accurate automatic stitching, follow these conditions when acquiring images.
Acquisition conditions
- Fix the X-ray tube at about 180 cm SID.
- For the table, fix the SID at 140–150 cm or more.
- Move the wall-stand bucky from top to bottom.
- For horizontal stitching, move the bucky from left to right.
- Overlap the images by 10% or more.
- Set the image orientation to head.
- Do not crop the acquired image; cropping magnifies it.
- Make sure the patient does not move widely.
- Image order matters: vertical top #1, middle #2, bottom #3; horizontal left #1, right #2.
By equipment set-up
- Fixed tube, moving detector: the recommended set-up. Fix the tube at 180 cm SID or more.
- Tube and detector moved by hand together: do not do this. Do not move the tube manually.
- Auto-sync tube movement: fine if the DR supports auto sync (auto centering) of tube and detector.
- Supine: possible if the system can cover the whole body with a fixed tube and a moving detector.
- Markers: a marker in the overlap can cause a mismatch. Move it out of the stitching area.
- Ruler: ruler-based automatic stitching is in development.
Requirements
Hardware
- Processor: Intel Core i5 or higher
- RAM: 4 GB or more
- Storage: 500 GB or more
- Network: 100 Mbps or faster for DICOM
- Display: Full HD (1920 × 1080)
Operating system
- Windows 7 or later, 64-bit recommended
DICOM compatibility
- DICOM Storage SCU / SCP
- Uncompressed DICOM images
- X-ray system or PACSSends single images by DICOM
- GoStitchingStitches automatically
- PACSStores and shows the stitched image
Product options
- GoStitching for Windows.